
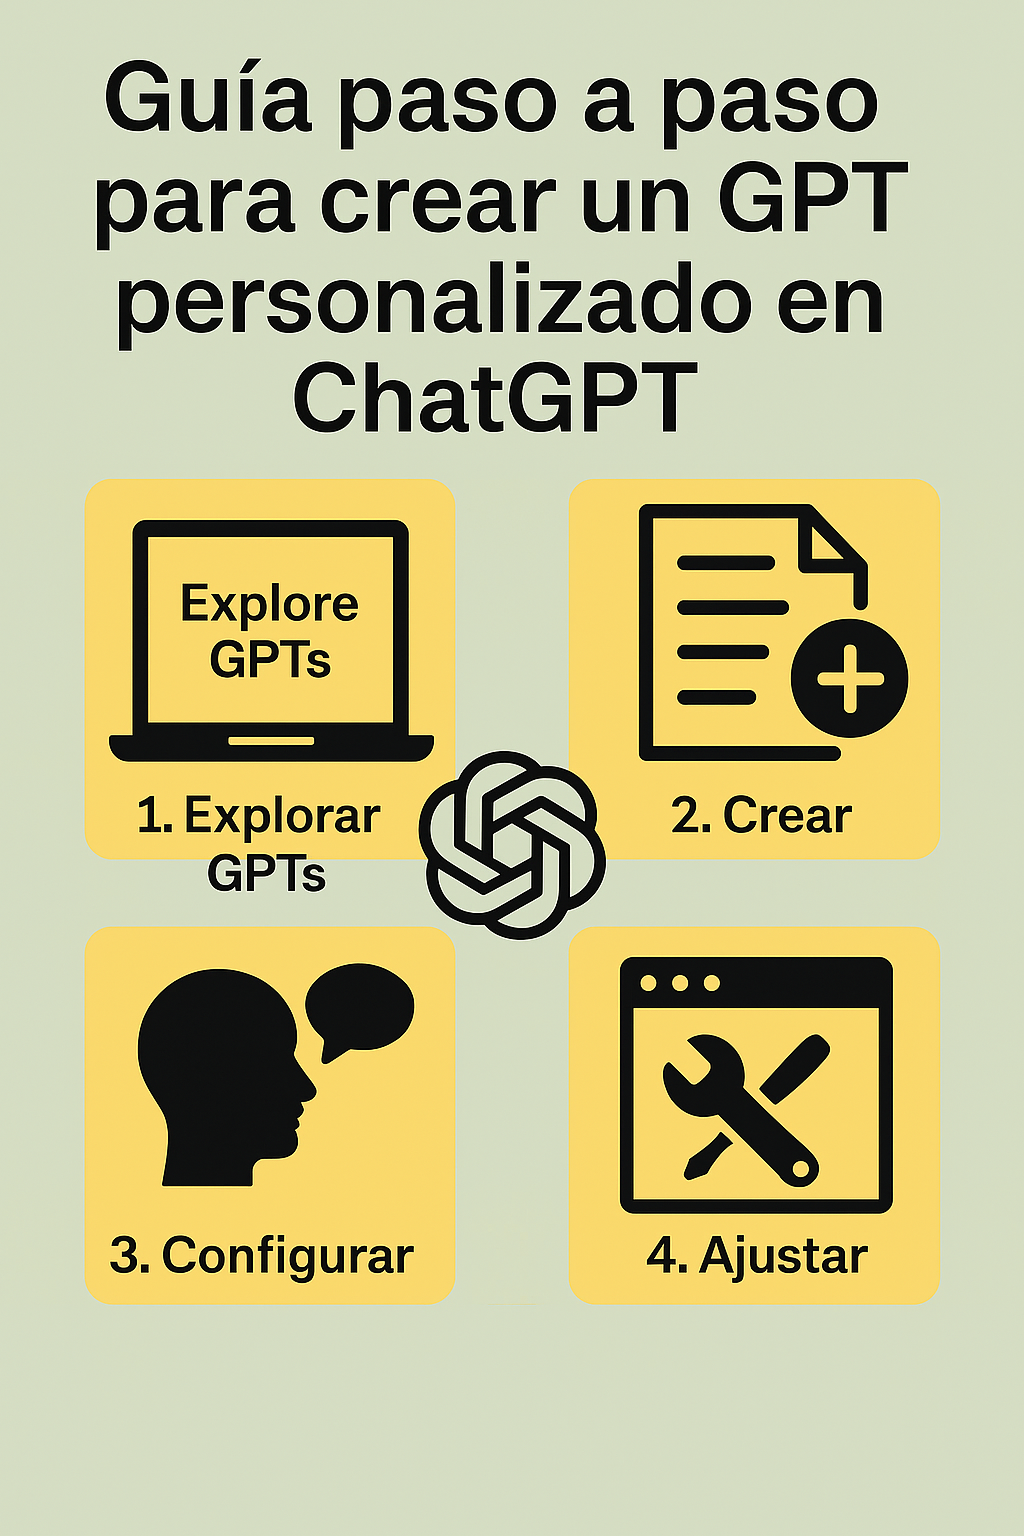
Creating a custom GPT in ChatGPT allows you to adapt the template to specific needs, whether for customer service, education, or any other purpose.
Step 1: Access the creation interface
Log in to your ChatGPT Plus account and go to the "Explore" section. There you will find the option to create a new GPT.
Step 2: Define the purpose and name
Clearly define the purpose of your GPT and give it a descriptive name. This will make it easier to identify and use later.
Step 3: Configure the instructions
Provide detailed instructions on how your GPT should behave, including the tone of responses, topics to avoid, and any other relevant guidelines.
Step 4: Add custom data
If you wish, you can upload files or links that contain specific information that your GPT should use to generate more accurate answers.
Step 5: Test and adjust
Interact with your custom GPT to verify its behavior and make the necessary adjustments to the instructions or data provided.
Creating a custom GPT is a powerful tool for adapting artificial intelligence to specific needs, improving the efficiency and relevance of the generated responses.
1 comment
This is a fantastic step-by-step guide on creating custom GPTs. I really appreciate how you broke down the process from defining the purpose to testing and adjusting. It’s such a powerful tool for tailoring AI to specific business needs or personal productivity. For those who are looking to integrate AI even more deeply into their own applications beyond the ChatGPT interface, exploring tools like the nano banana api can be a game-changer. It provides robust access to similar models and allows for more programmatic customization, which fits perfectly for developers following this guide. Thanks for sharing this clear tutorial! For more info on developer tools, check out https://nanobananaapi.dev. Keep up the great work on this blog!